The design and Build of the 55 Gallon Barrel Pizza Oven
I have been thinking about building a pizza oven for years. If I had unlimited space and money, I would build a dome shaped brick oven/outdoor kitchen center, but I was looking for something cheaper and less of a backyard centerpiece. Even though our yard is nice sized, there isn't an area that I could dedicate to a dome but also keep it close enough to the kitchen door.
My solution was to build an oven out of a 55-gallon barrel on a stand that had wheels for portability. I could then move it close to the door when in use and then tuck it in a corner when not. A number of people have YouTube and Pinterest designs out there, but most of those did not include any brickwork to keep the heat inside of the drum. I wanted to see if I could pump up the design a bit. I have 10 years experience (from many years ago) as a design draftsman, so away the wheels of invention went.
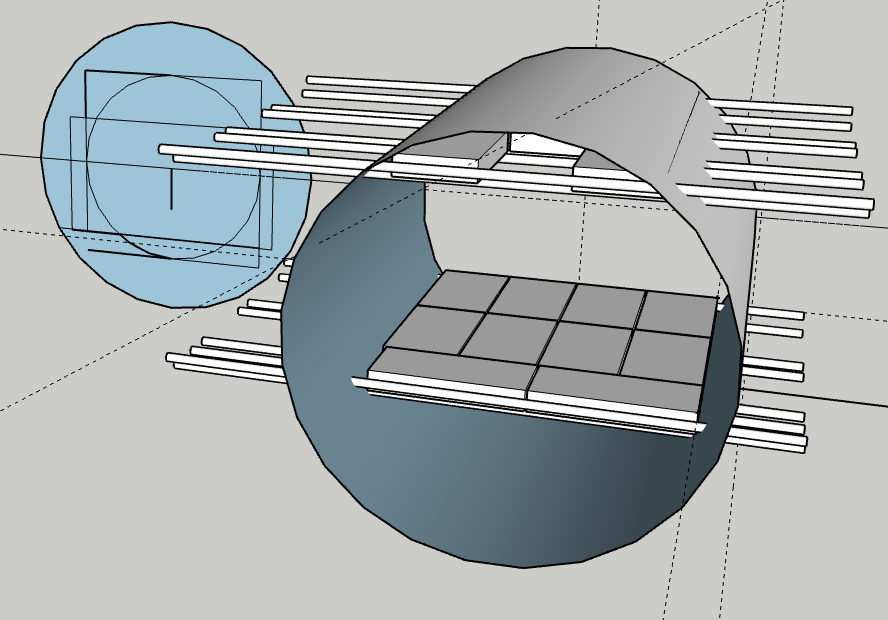
I started out learning Sketchup so I could play with my design. The image below is one of my simpler designs, but it also gave me the good dimensions of the barrel, rebar and fire-bricks. I needed to figure out the fit of the bricks inside. The blue circle on the left was various ideas of how big the door would be. This was all before I actually had the physical barrel.
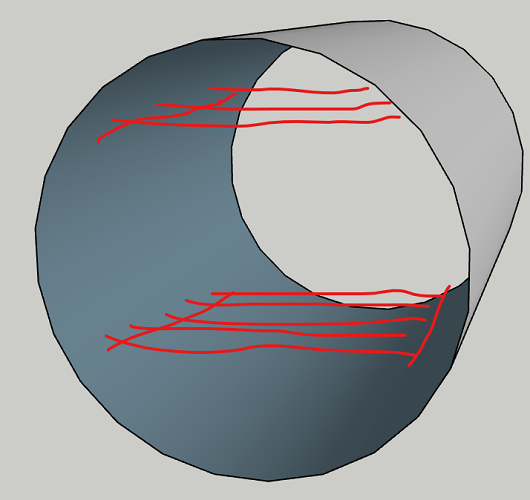
The original idea was to weld two pieces of rebar (one left, one right) under the cross-member pieces of rebar. The crappy image below shows this. This was not drawn in the SketchUp as I just started working on it, but that design wasn’t the final fabricated design. I am jumping ahead of myself.
In December of 2021, I decided to start moving forward. I bought myself a cheap wire feed MIG welder from Harbor Freight (TITANIUM - Easy-Flux 125 Amp Welder sale price $170). For Christmas, my family got me gloves, a helmet, and some other useful tools that I would need. Next step was to buy some of the materials I needed. I found a local company that was selling used food-grade barrels for $40. I picked it up and when I got home, I found out that this use to contain raw honey.
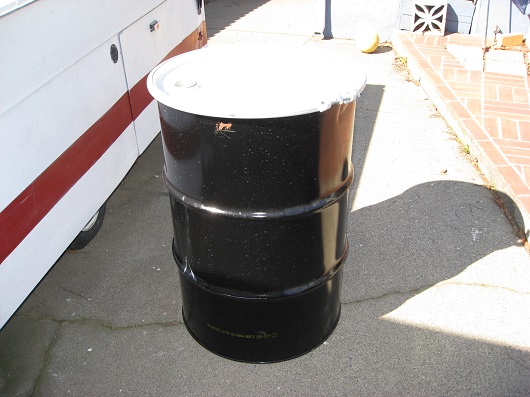
The lady who sold it to me offered to clean it out and I thought, “no worries, I am just going to burn it clean anyway to get rid of the protective food grade liner. What I didn’t realize was just how much honey I brought home.

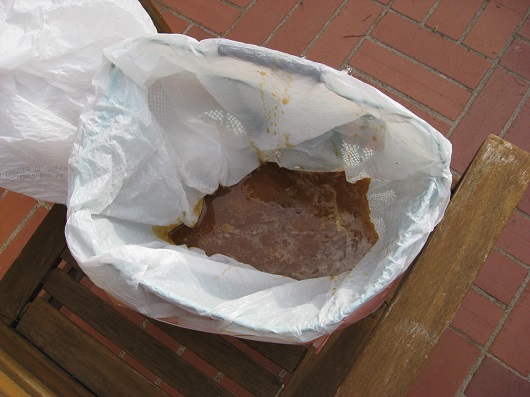
I tipped the barrel on its side and drained it into an old basket with a garbage bag line in it. After I scraped as much as I could get out, I weighed the basket and found that I had 10 pounds of honey. It is too bad I didn’t know more about the actual honey as it smelled very good, but I decided to throw it out. Next, I started a roaring fire in the barrel and let it burn for a couple hours. I attached a small blower fan I had to the hole in the bottom of the barrel and when I started that, I could get a really hot fire cooking off the inner liner as well as the outer paint.
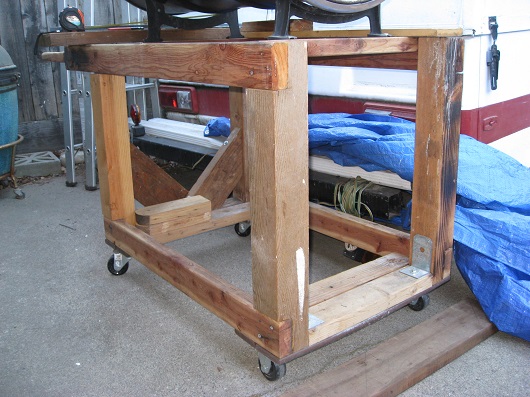
The California weather turned warm early in January and I decided to get the build into full gear. Next step was to build the rolling cart. Throughout this project, I tried to reuse as much old and recycled parts that I had around my out of control workshop/garage. All the wood used for the cart were leftovers from previous projects. I am kind of a garage hoarder.
I was really worried about cutting the barrel open but between Sketchup, lots of CADD (carboard aided design), sketches in my notepad and just a pure gamble, I decided to pull the trigger and start the metal fabrication part. Cutting metal straight with a angle grinder isn’t easy without practice and welding is even harder.
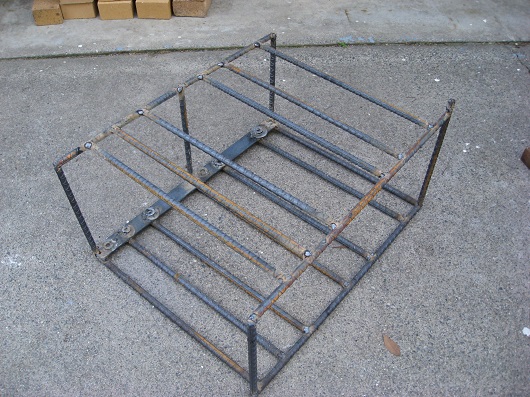
I quickly found out that with my welding skills, it was a bad idea to try and get the rebar to join to the thinner barrel metal. I burned through the barrel wall so many times. One of the pictures below shows the ugly patch job I ended up making to cover the gaping holes I made wheelie trying to learn to weld and get the correct settings for different thicknesses. Since welding the rebar directly to the barrel was not going to work for me, I decided to change the design and built a rebar rack to fit inside. If I ever made version 2.0, I would be better equipped to make the rack the right size to fits the upper and lower rack of fire bricks. For now, this will probably work just fine. I must say, #4 rebar is much more forgiving than 16-gauge walls of the barrel.
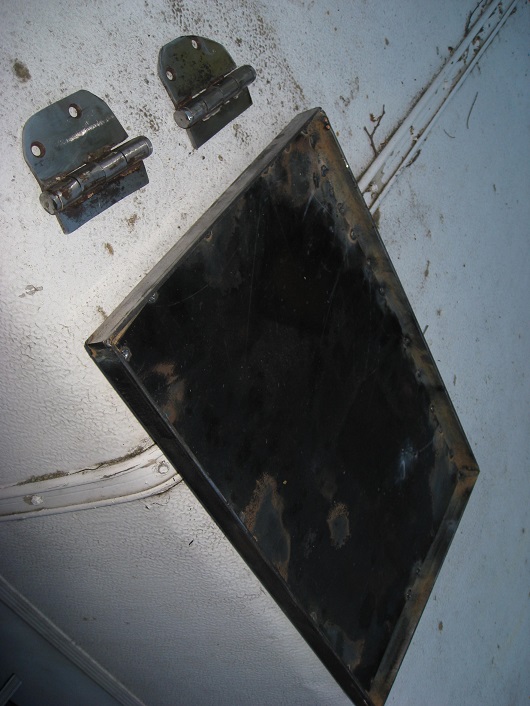
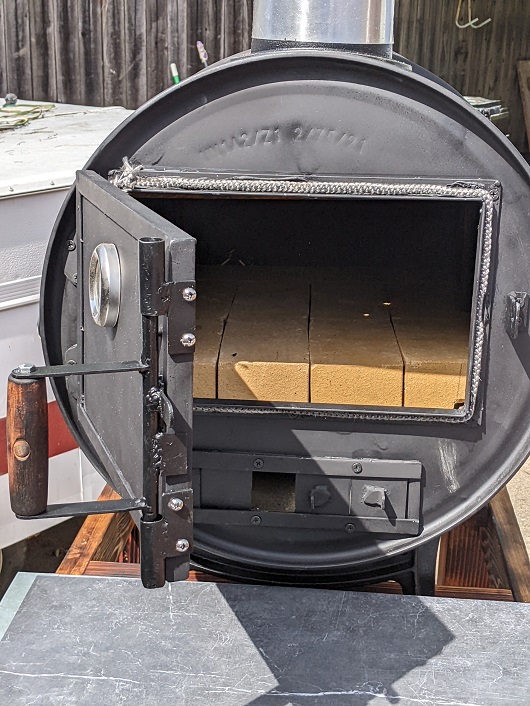
The piece of metal cut out for the door opening, then became the faceplate of the actual door. The piece was also framed with ¾” angle iron. In my attempt to recycle as much as possible, I found some old hinges in my garage and cut them down to fit my purposes.
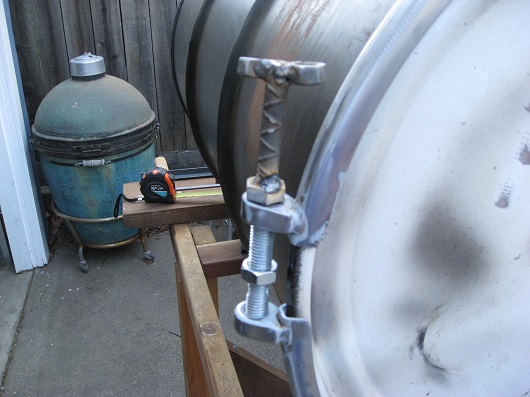
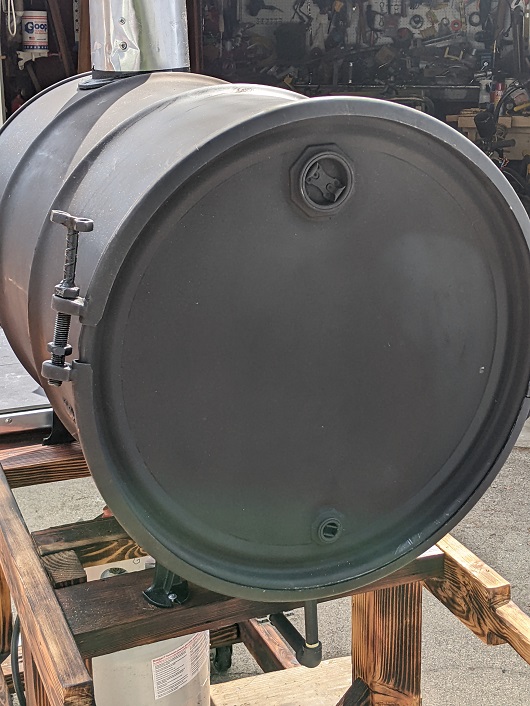
The butt end of the oven (the removable top side of the original barrel) has a removable ring that hold the lid on. To make this easier to tighten/loosen, I welded a piece of rebar and two 3/8” nuts to the rebar.
Pizza ovens are pizza ovens because you get that wood fired heat and flavoring. I wanted my oven to be dual heat for a couple reasons. 1) two heat sources will bring and maintain the oven temps easier. 2) If I wanted to just make a quick pizza without waiting for a fire to start and then burn down, I could just use propane. 3) More fire/heat source is just better.
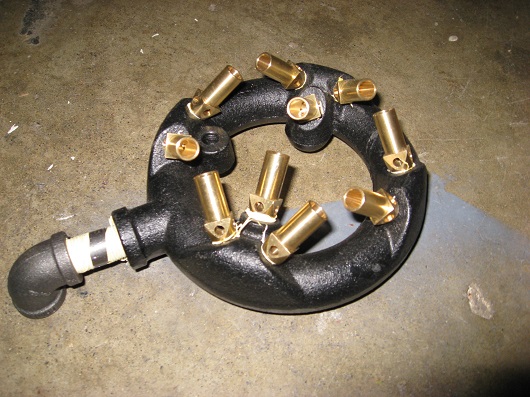
I found a burner on Amazon that was made for pizza ovens and turkey fryers. I thought that this would give me enough BTUs.
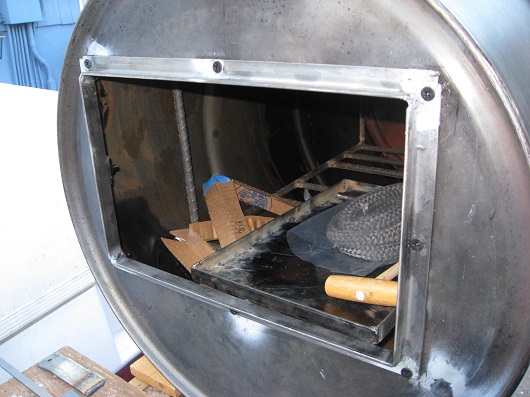
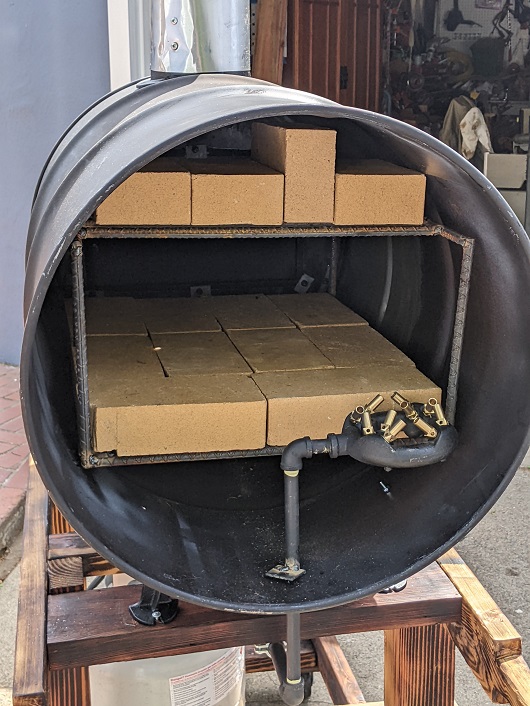
The picture below is the view from the butt end with the panel removed. This gives you a good view of how I plumbed the burner and how the bricks work with the rack system I made. Depending on how the oven holds heat, I may add some bricks vertically along the sides between the top and bottom layers.
I had purchased a kit that included two cast iron legs sets that matched the curve of the barrel as well as a smokestack mount that also matched the curve of the barrel on top. The kit also included a cast iron door, but after getting the kit, I realized the door would be too narrow for a pizza and your average pizza peel, so I opted to make my own door. I was then going to use that cast-iron door in the butt end of the oven for cleaning purposes. I then realized that being able to remove the whole end of the barrel would be easiest. I can always cut another opening and add that on later.
The ironic part about the firebrick I used was that my original plan was to use a thinner brick for the top and sides and a 1” single pieced pizza stone for the cooking surfaced. While planning it out, I failed to realize that because of the heavy weight, the Amazon seller was going to charge me extra for shipping. My whole budget was blown with that solution. I checked my go-to Home Depot and they didn’t sell fire bricks. I happen to check Lowes and they did. When I went to the store, bricks don’t come with a barcode and the checkout lady couldn’t figure out the price. I was getting impatient but kept a smiley face. The lady eventually gave up and changed me for any old brick she could find. I ended up getting them for 60% of the marked price (I tried helping her find them in her price book. Only so much I can do). So, instead of going way over my budget, I was way under. I made up that difference later as many of the finishing parts cost way more than I had anticipated.
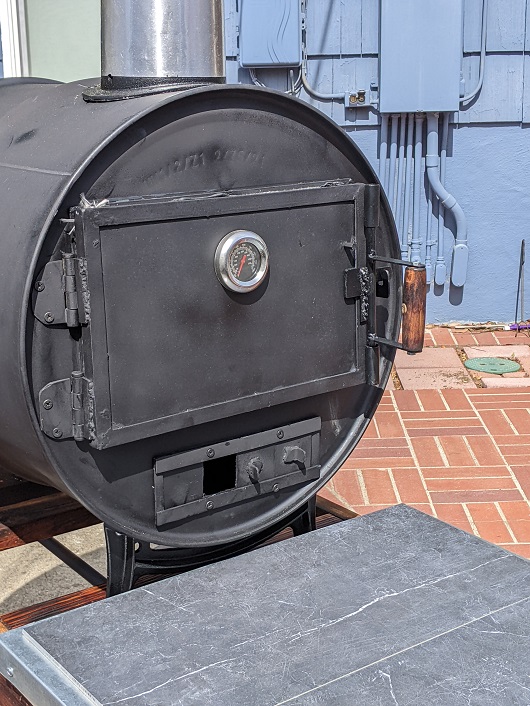
For the door latch and handle, I wanted something that could be opened with a single hand and would be cool enough to not burn me. I over engineered the heck out of the door. Between the inner and outer door frames, the hinges, and the latch and handle system, I used 37 separate pieces in the assembly plus screw and nuts. I think this was my favorite part of the design though. I also added a high-temp thermometer to the door.
The purchased cast iron door had damper vents built in. I came up with a ‘simple’ design that only used a dozen or more parts.
Midway through Covid, I built a custom propane fire table. I found a process called Shou Sugi Ban that is a method of preserving wood by charring it with fire. Traditionally, this practice is used by the Japanese in order to weatherproof wood. The wood is burned until the surface is charred, and then coated with natural oil.
I like the natural look of this process and used the same thing for the wood cart.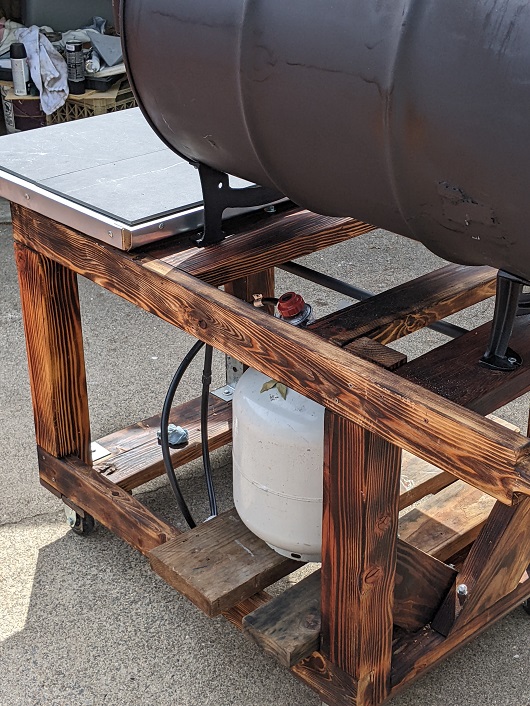
For the exhaust chimney, I looked at double walled exhaust tubing. This is really expensive, and I decided that nobody could ever reach that height and it won’t be near any flammable sources. I went with a simple single walled tube and welded a pyramid shaped cap with a spark arrester mesh inside.
I added a prep table to the design trimmed with roof flashing and topped with two 12”x24” slate tiles. I still have some stuff I want to do to refine the final product. Like enclosing the sides and creating a space for wood to be stored underneath. I also need to tweak the burner to control the temp a little more and maybe add a starter switch.
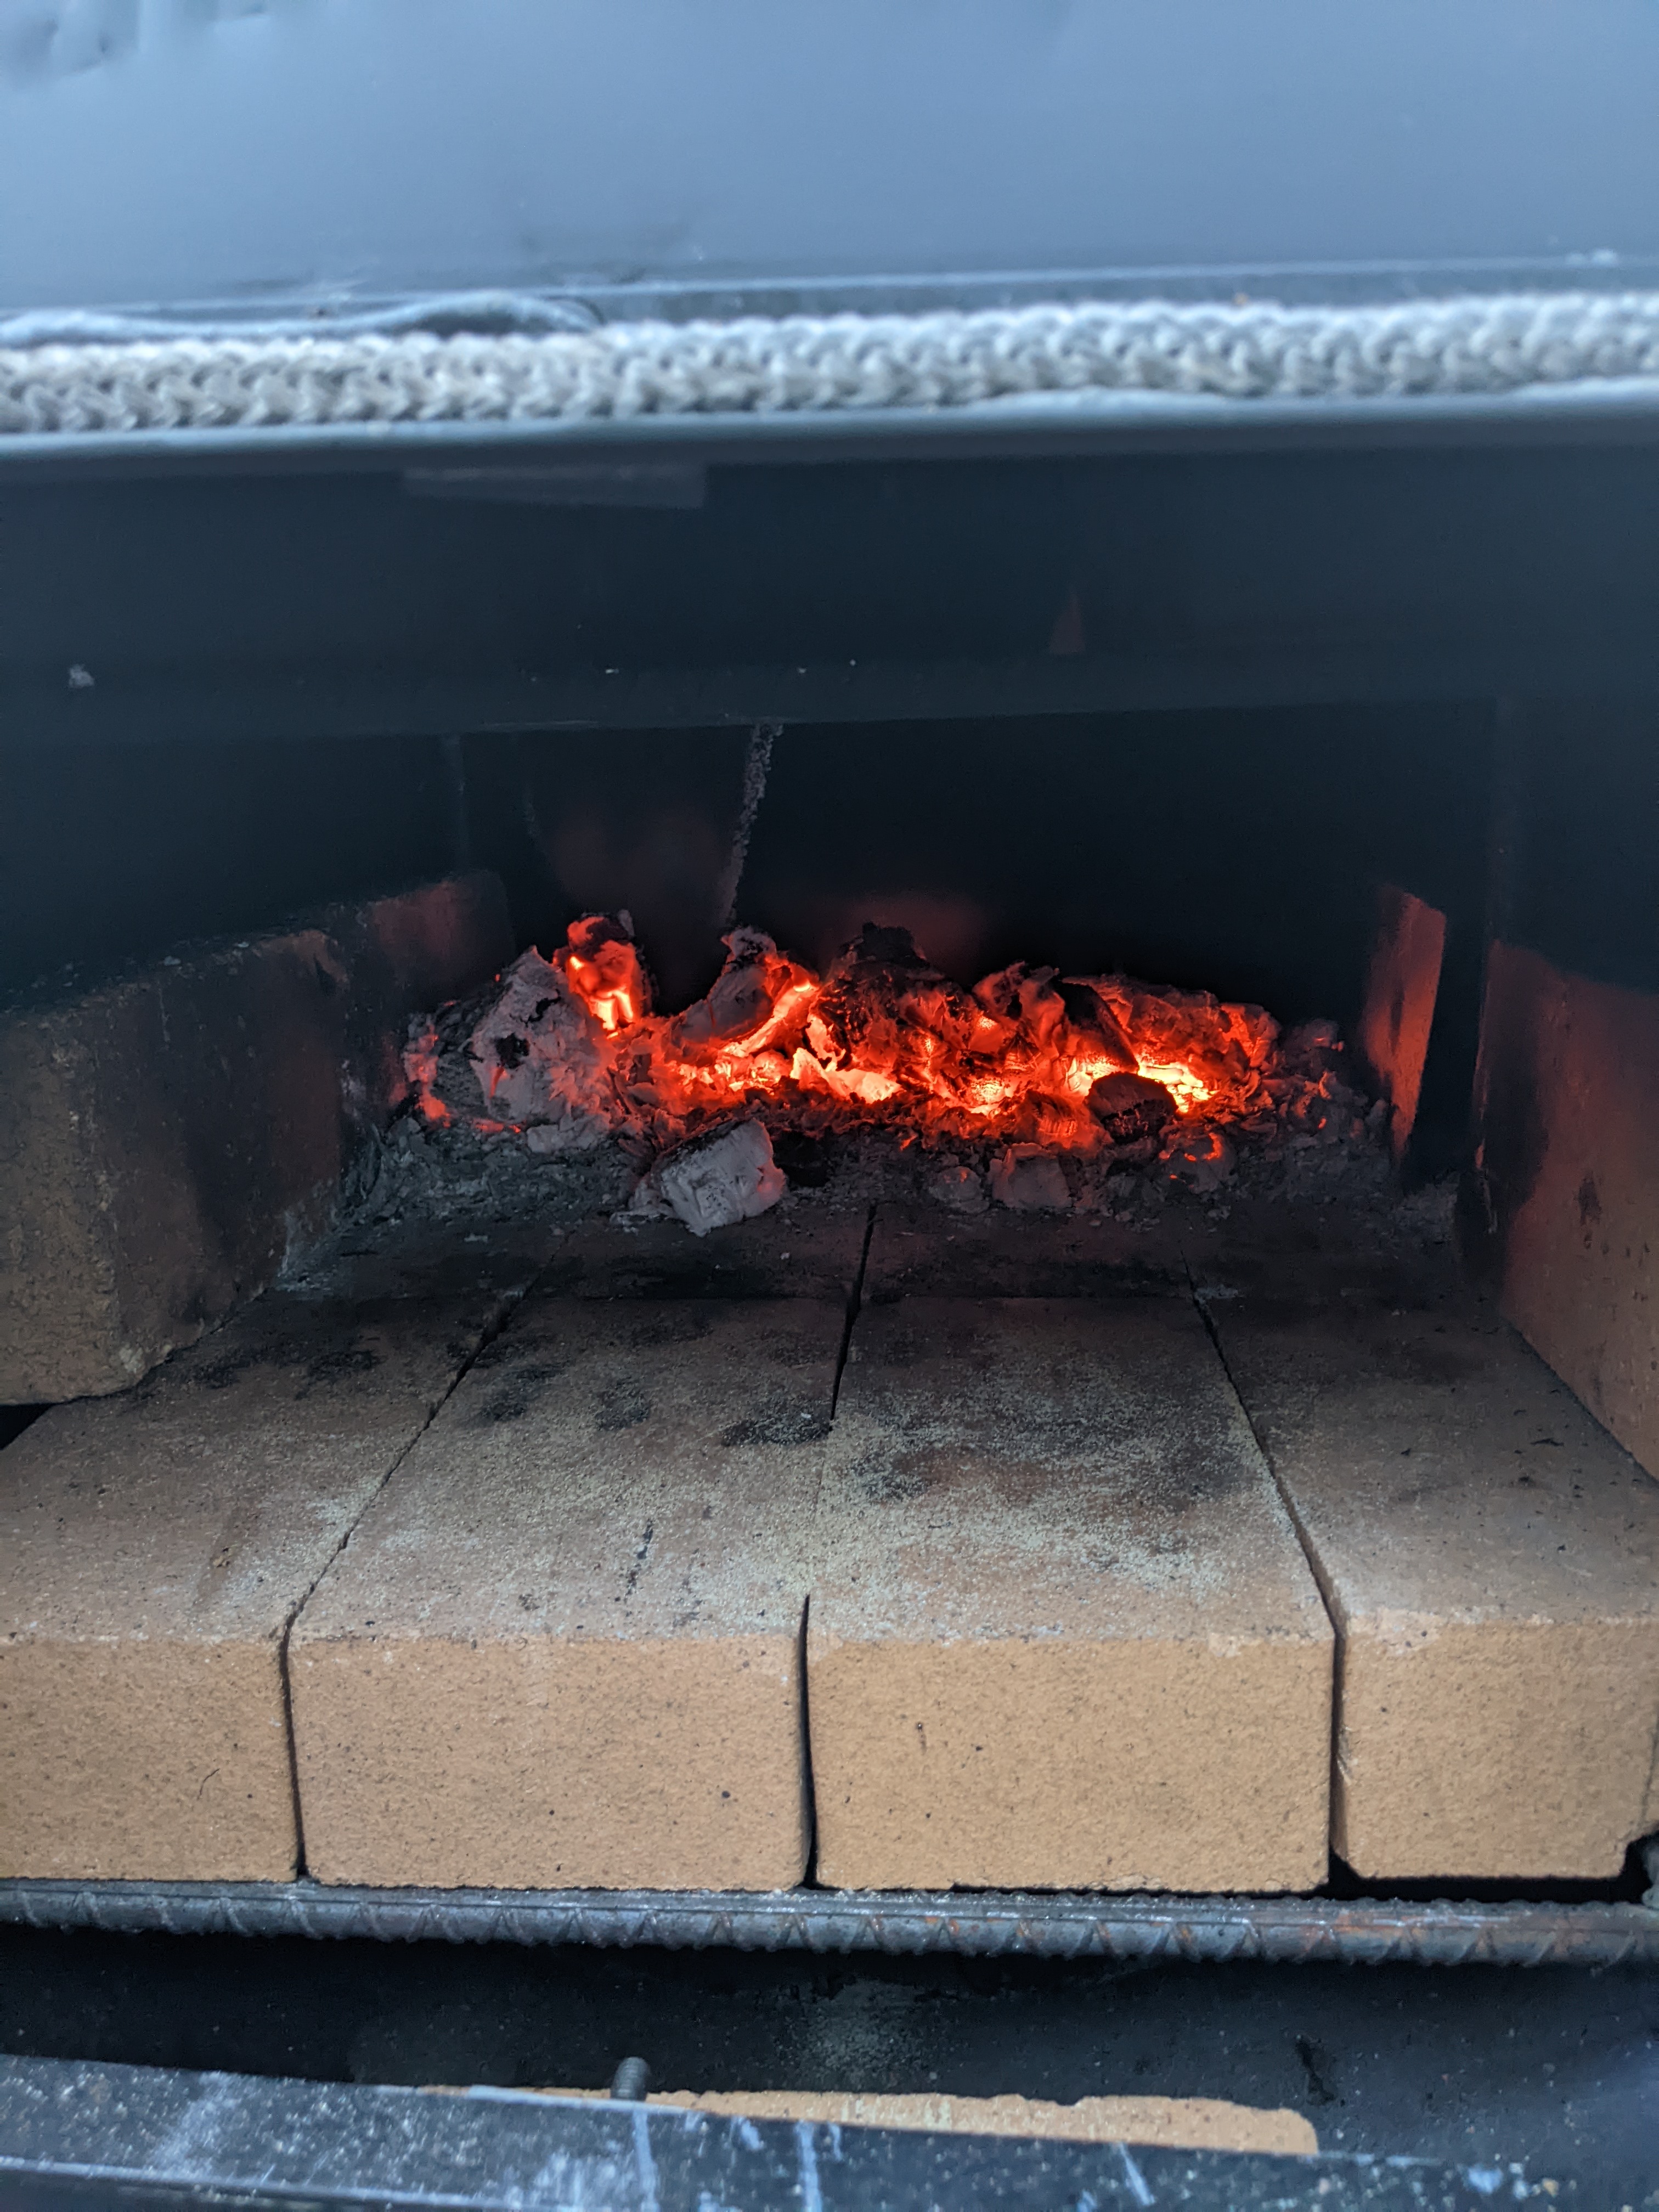
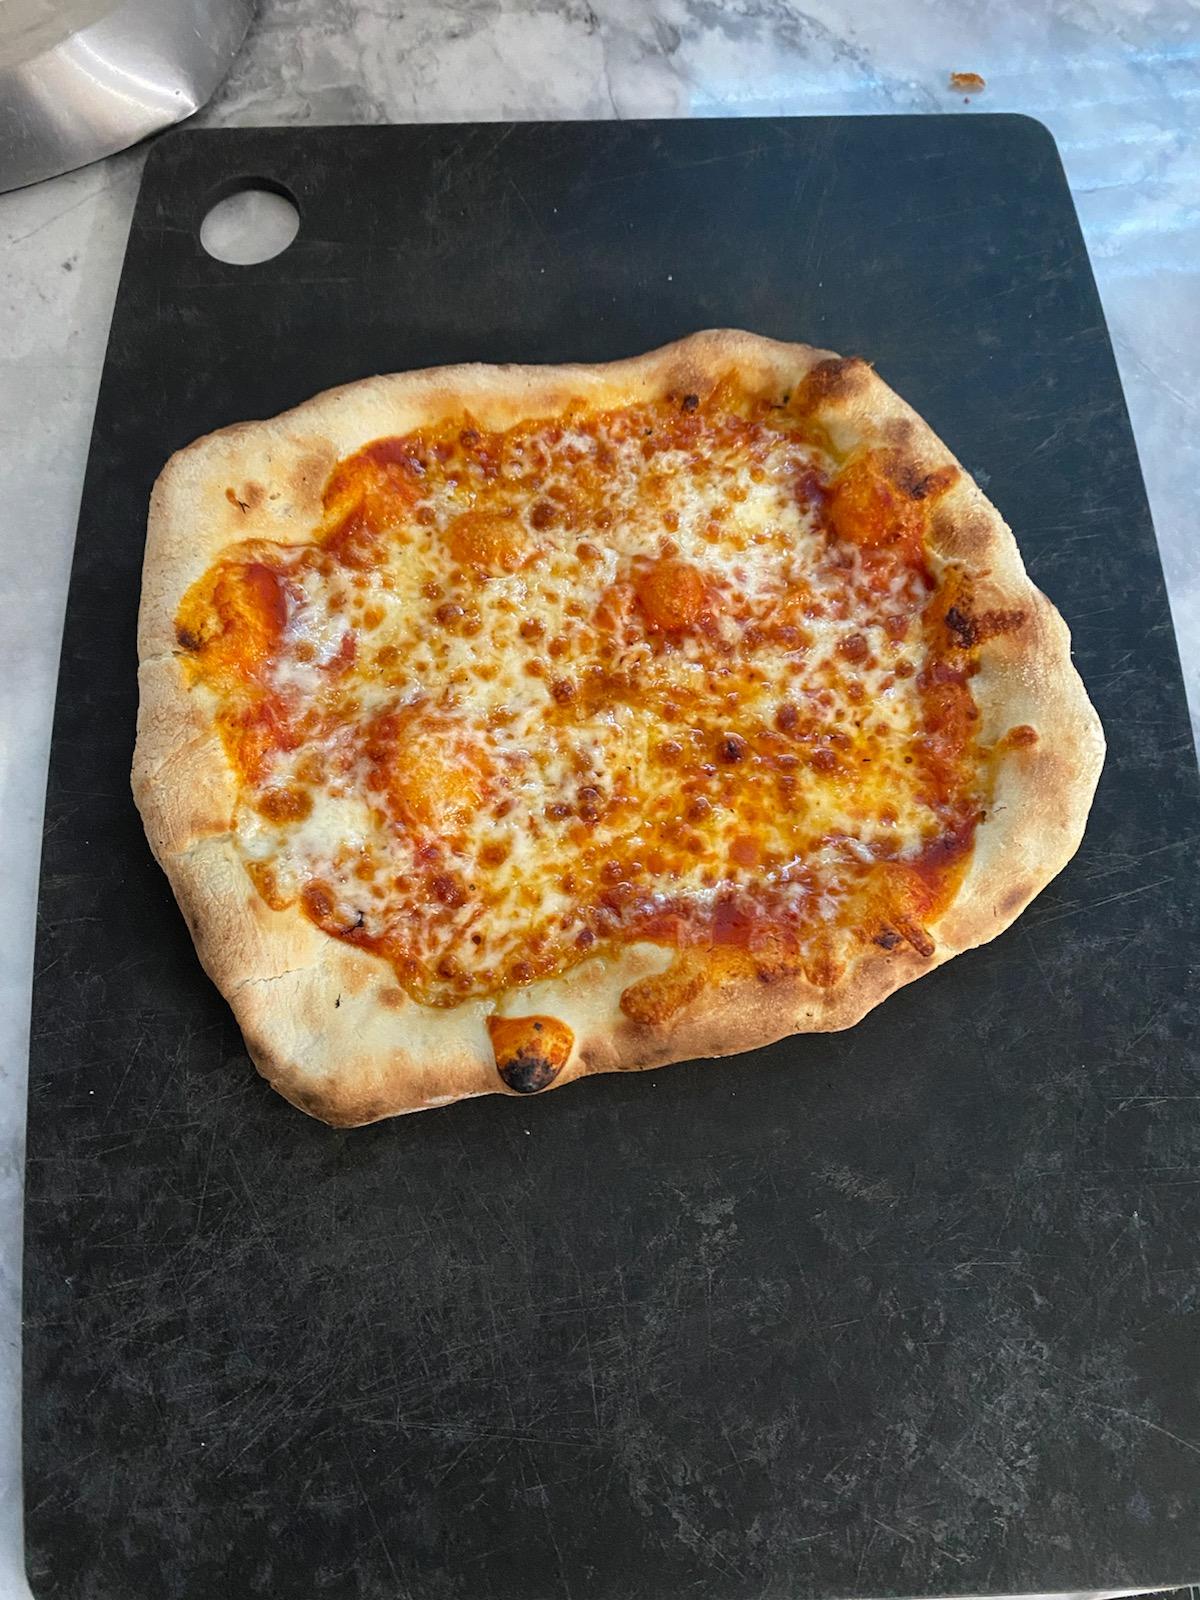
It is time for a test run. Maybe some Trader Joe’s raw pizza dough instead of our usual homemade dough or possibly a loaf of homemade bread. I also haven’t made an actual wood fire yet. I am curious how it will hold the desired temperatures. If too much heat escapes, I have an idea to add and insulated lay to the butt end and possibly wrapping the whole barrel with high-temp insulation batting. The batting will end up being between $100 and $150 so I am trying to avoid that. I would then also need to wrap the outer layer in corrugated metal and that will change the whole look. Maybe version 1.5.